You have a hood decal but you're ready for a change! In this blog we walk through the simple process of removing a vinyl hood decal.
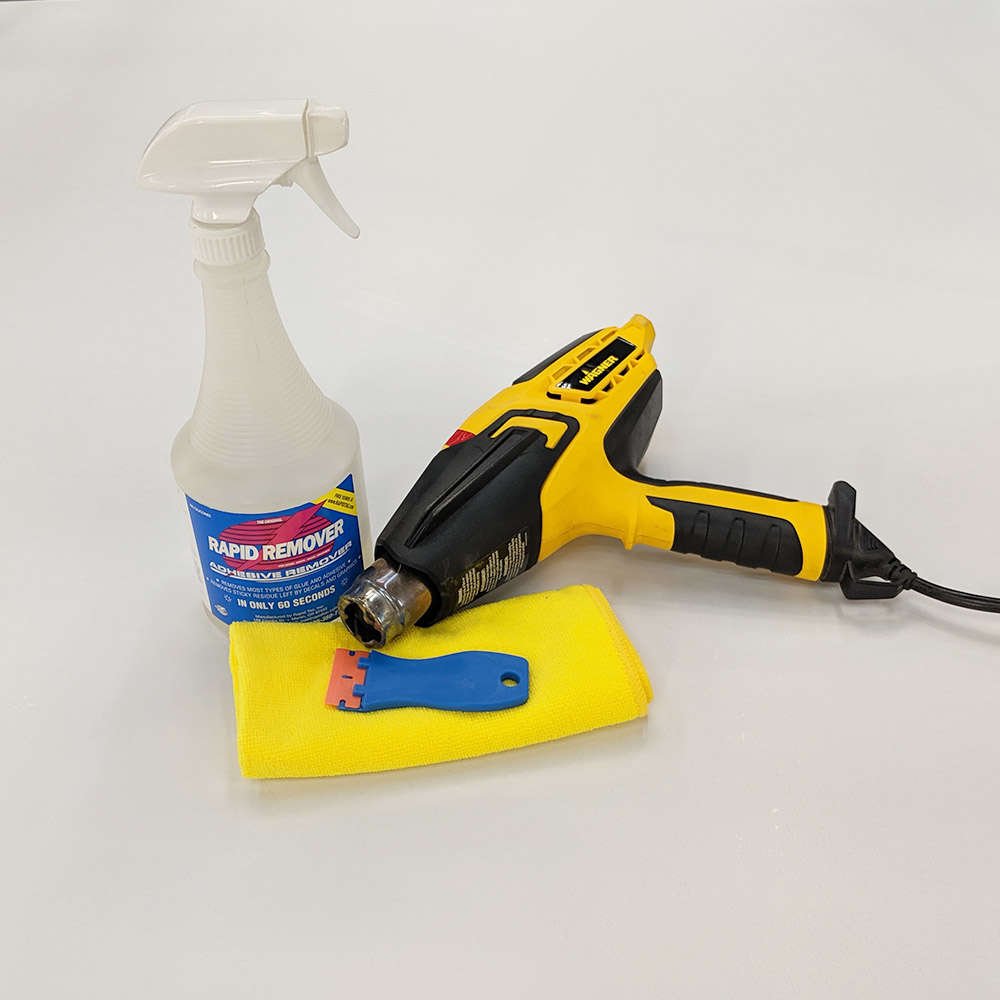
Tools Needed*
plastic razor scraper - Or other non-abrasive scraping tool like a credit card
heat gun - If you are working where it is warm this is not necessary, your objective is to heat the adhesive for removal
Rapid Remover - May not be necessary, however if you have leftover residue then we suggest a car-safe product like Rapid Remover
microfiber cloth
Some Things To Consider Before You Get Started
When it comes to installing and removing vinyl, the climate is very important. During installation we suggest avoiding extreme temperatures (nothing below 60˚). It is also imperative that the installation is not attempted on a hot surface or in direct sunlight. HOWEVER because we are removing the decal it can be helpful to do this in a warmer space, especially in direct sunlight. The warmer the climate the less you will be fighting the decal.
To ensure a smooth clean finish on your car after removal you can use our Universal Debadge and Clay Bar Kit. This is especially helpful if you plan on installing another vinyl kit as leftover residue or adhesive can create issues during the installation process.
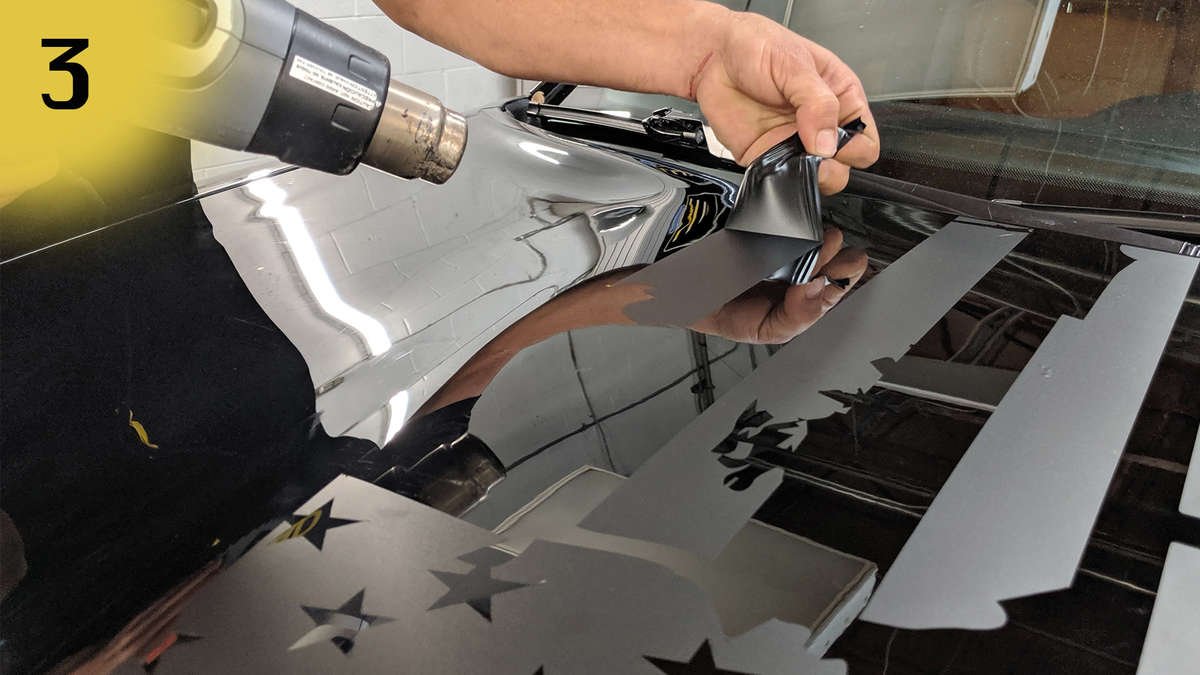
Step 4: Remove Latent Adhesive
Finally, spray the hood with Rapid Remover and wipe down with the microfiber cloth.
If you want to ensure you have a clean car, or if you are planning on installing another decal on the same area, then use our Clay Bar Kit to get a spotless (and adhesive-free) finish.
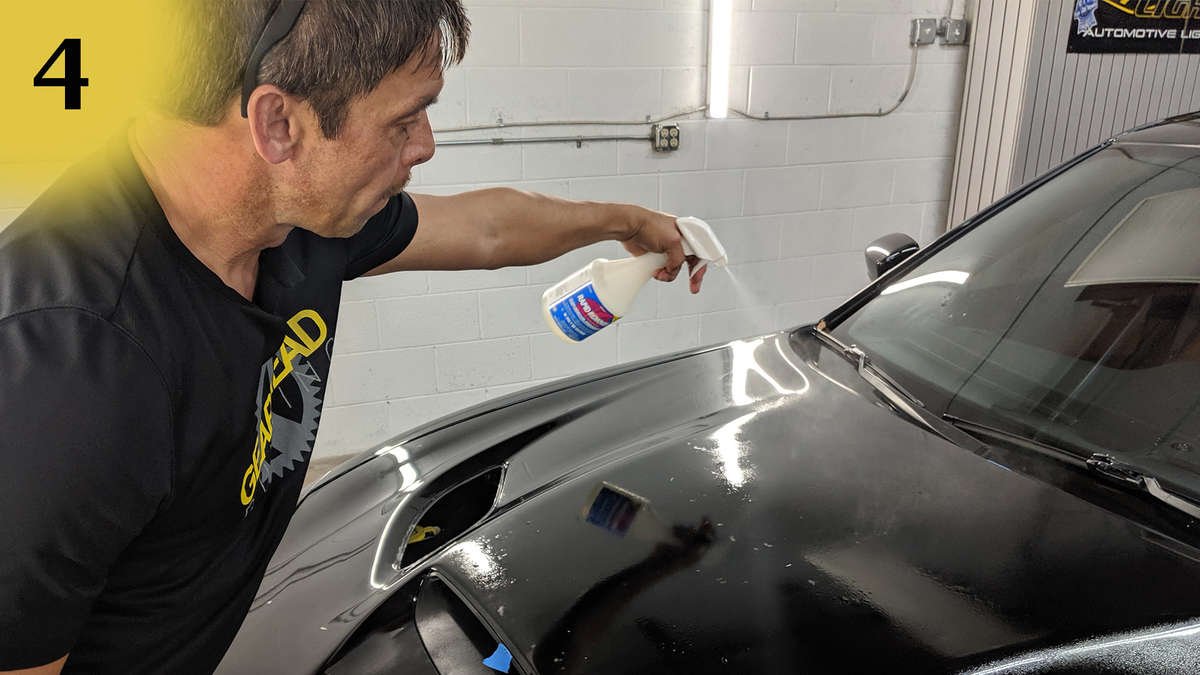
Step 1: Grab the Heat Gun
Pick a section of the decal and begin to heat that section with the heat gun*. You are trying to warm up the adhesive on the back of the decal so that it will be easier to peel off.
*Your objective with the heat gun is to warm up the vinyl adhesive to make it easier to remove. If the vinyl is breaking and tearing after you heat it then you are overheating your workspace.
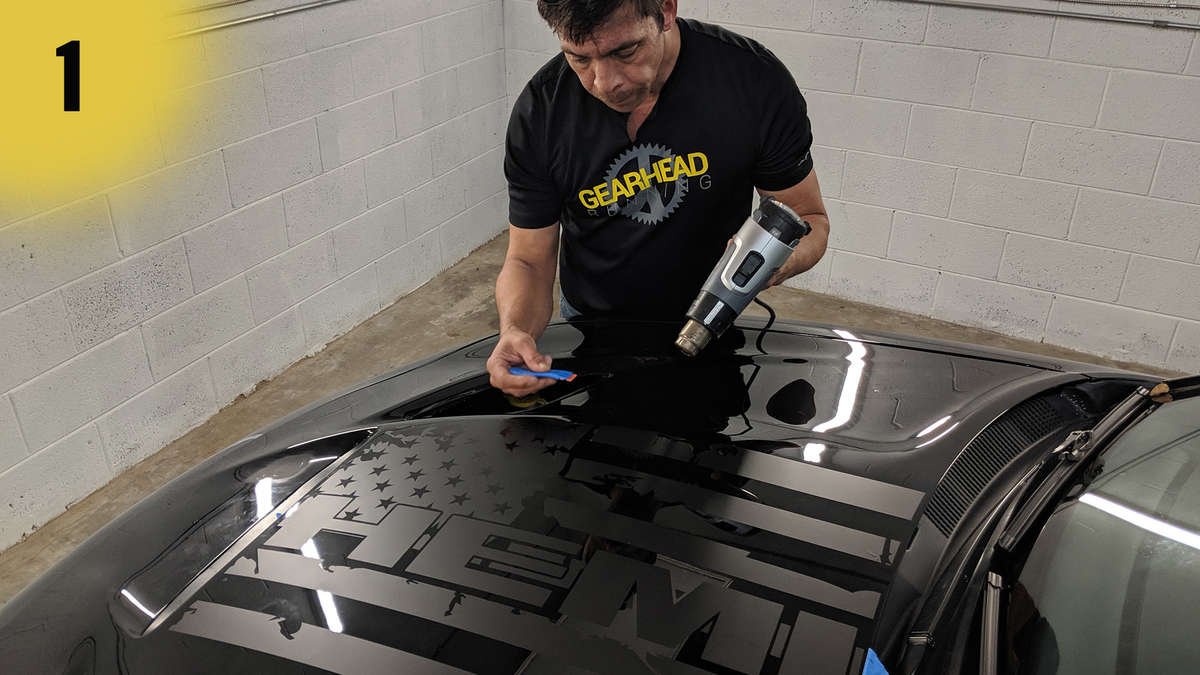
Step 2: Scrape the Decal
While you are heating a section, use your scraping tool and your fingers to begin to pick and peel at the edge of the decal.
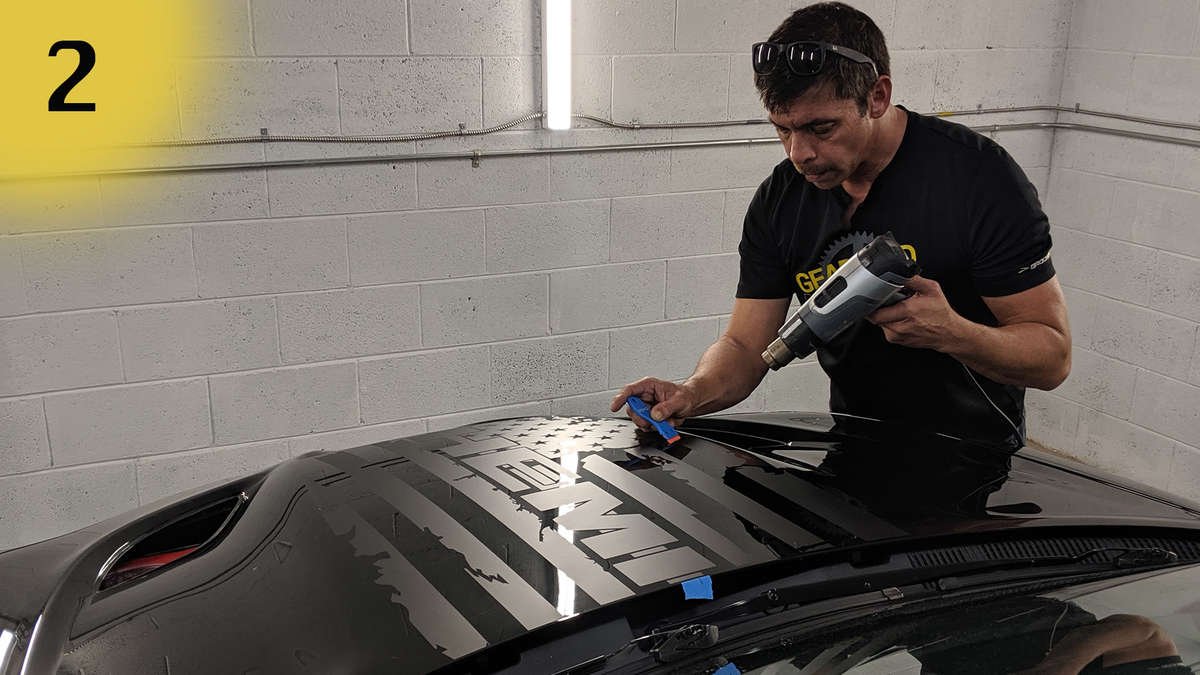
Step 3: Remove the Decal
Now that your decal is heated and you have lifted some edges you can begin to pull up and peel the decal up from the car.
Using heat as you go, pull the decal up slowly at a 45° angle.
Step 4: Remove Latent Adhesive
Finally, spray the hood with Rapid Remover and wipe down with the microfiber cloth.
If you want to ensure you have a clean car, or if you are planning on installing another decal on the same area, then use our Clay Bar Kit to get a spotless (and adhesive-free) finish.
Step 1: Grab the Heat Gun
Pick a section of the decal and begin to heat that section with the heat gun*. You are trying to warm up the adhesive on the back of the decal so that it will be easier to peel off.
*Your objective with the heat gun is to warm up the vinyl adhesive to make it easier to remove. If the vinyl is breaking and tearing after you heat it then you are overheating your workspace.
Ready For A New Decal?
Before installing a decal in the same spot you will need to ensure that you clean the space WELL with an alcohol solution. You do not want to have ANY Rapid Remove residue on your car if you are going to install a new decal.
The best way to ensure that you have removed all residue and other contaminates is by using a clay bar to clean the installation surface. Add a Clay Bar Kit to your next vinyl decal order and you'll be ready for a smooth installation!
Like what you saw?
Check out our hood bulge decals!
Or contact our custom department for a custom hood bulge decal!
great product, looking forward to using more of your colors and patterns the holographic is sik! I am excited on getting a cool upgrade for forgetting my free squeegee thanks
Looks Great - Wouldn’t recommend dark shade if you have windshield tint or halogen bulbs’
It looks really good from an aesthetic standpoint, however with the combination of the wrap and my 35% tint i couldn’t really see and had to pull it off. would recommend getting a lighter shade than “dark”
Let me start I am a noobie but do alot around cars . I wanted a semi gloss just a little sheen instead of the average matte black . It turned out great the second time . The first I screwed up and let me say it takes a lot to screw up beyond repair . I actually pulled it completely off 3 times , the I tore it . I ordered another an then they sent me money back because I messed up . I order the honey comb lighteraps I love this company great to deal with and sell quality items
I am very satisfied with the product/complete installation kit, customer service/speedy shipping, and great pricing. Will definitely continue to do business with Luxe Auto Concepts!
So from what I had time to look at which was brief...it looked great! Very pleased with the appearance and quality of the product and items ordered have been shipped! Big Thumbs up👍
Leave a comment