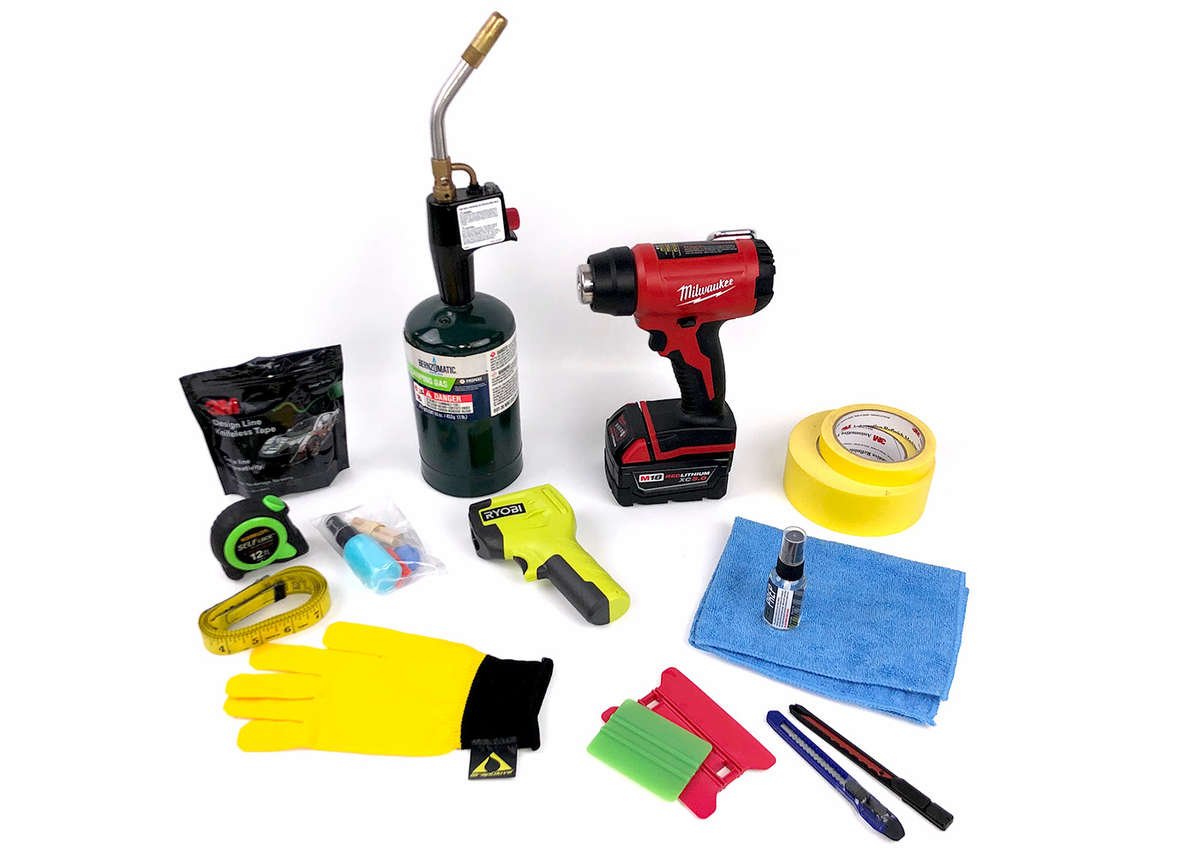
Tools
Required
- Squeegee
- Microfiber Cloth
- IPA Spray
- Break Away Blade
- Heat Gun or Torch
Recommended
- Decontamination / clay bar kit
- IR Thermometer
- Painters Tape
- Measuring tape
- Wrap Glove
Application Conditions
Temperature is very important in this process as it affects everything from the strength of the adhesive to the pliability of the vinyl. We recommend a minimum working temperature of 71F (22C). Lower temperatures will make the vinyl more brittle and prone to shattering when repositioning. It is possible to install in lower temperatures with smart use of heat using a heat gun or IR lamp. Make sure the lens is a similar temperature to the environment.
Environment is equally as important and we strongly recommend applying LightWrap in indoor environments as it will help the temperature stay consistent as well as contaminates and risk of failure to a minimum. If applying outdoors avoid direct sunlight as it will keep the film soft and make cutting very difficult.
Environment is equally as important and we strongly recommend applying LightWrap in indoor environments as it will help the temperature stay consistent as well as contaminates and risk of failure to a minimum. If applying outdoors avoid direct sunlight as it will keep the film soft and make cutting very difficult.
Pre-Wrap Prep
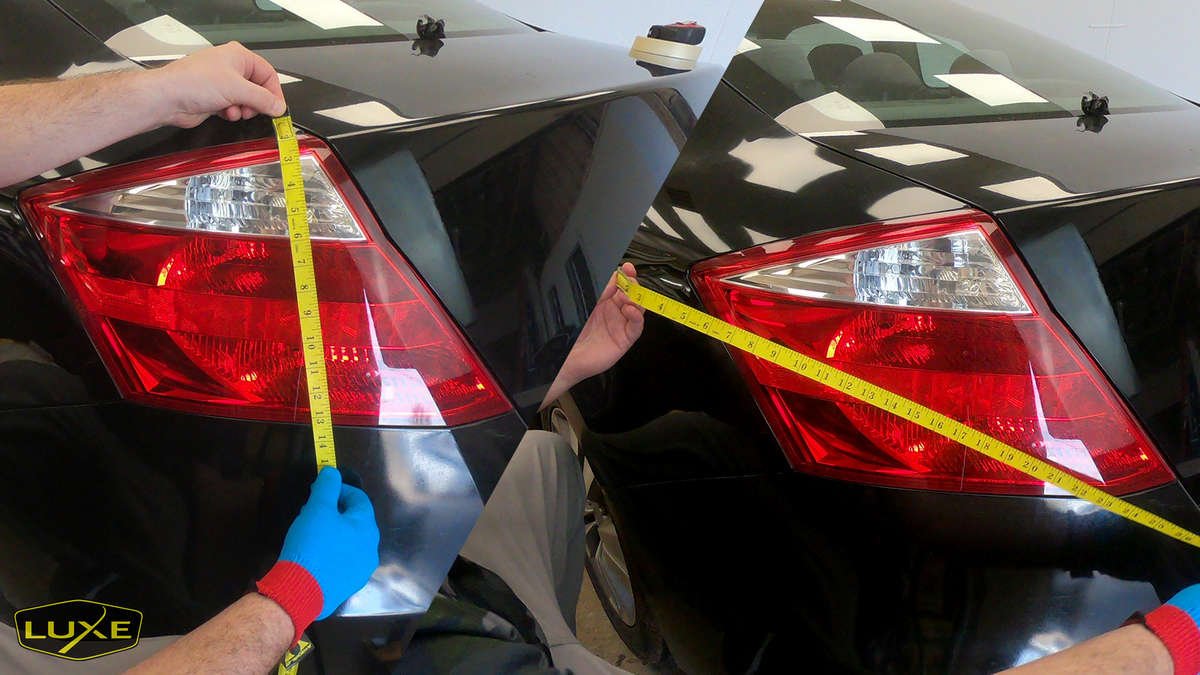
Measure the light
Get your overall width and height of the light and depending on the shape and complexity add extra inches of material to help handle the material and disperse the tension.
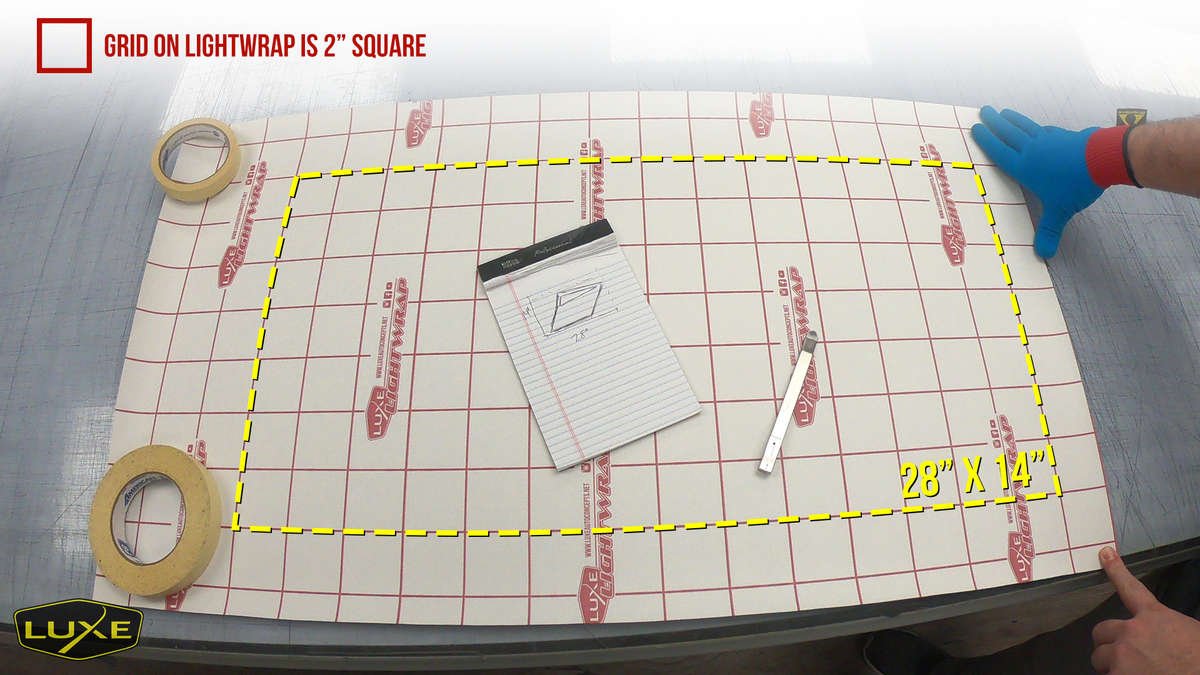
Cut out the LightWrap
Use the grid on the back to help with this. Remember to mirror your second cut. It is always better to have extra material than not enough.
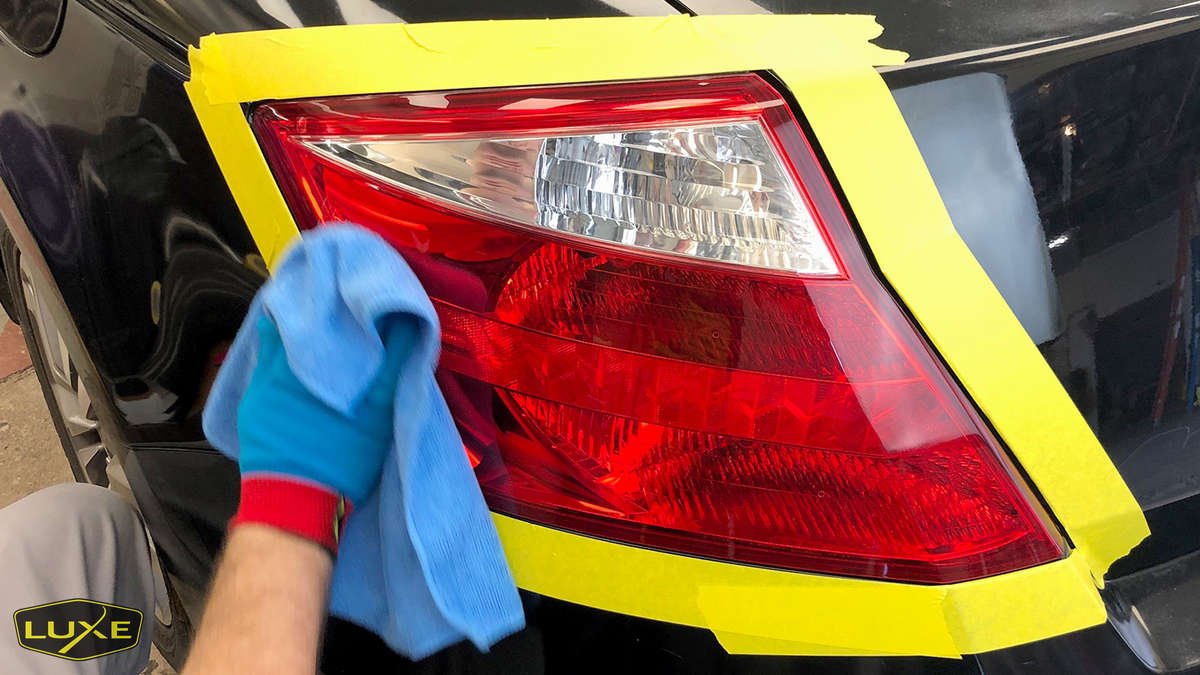
Decontaminate the Lens
If the lens does not feel smooth as glass use a clay bar kit or nano-scrub rag to decontaminate it. This step is generally very wet and you should clean out most grime around the light and achieve a smooth lens in this step. Blow out all gaps and let the light completely dry.
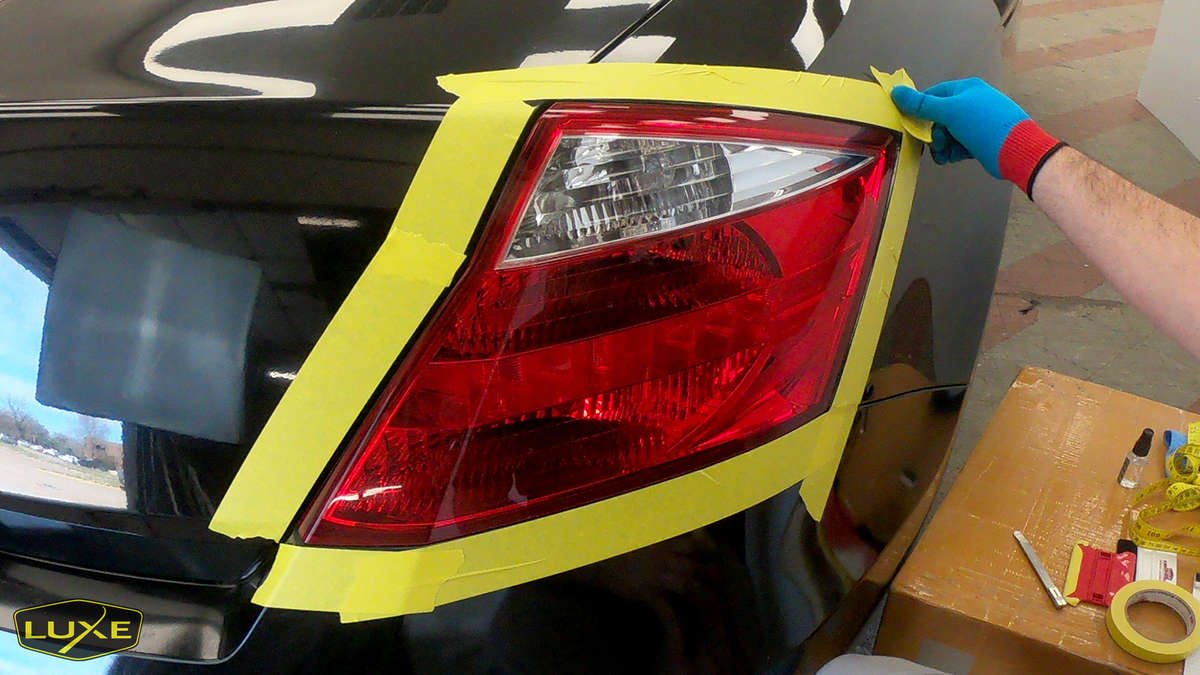
Tape body panels
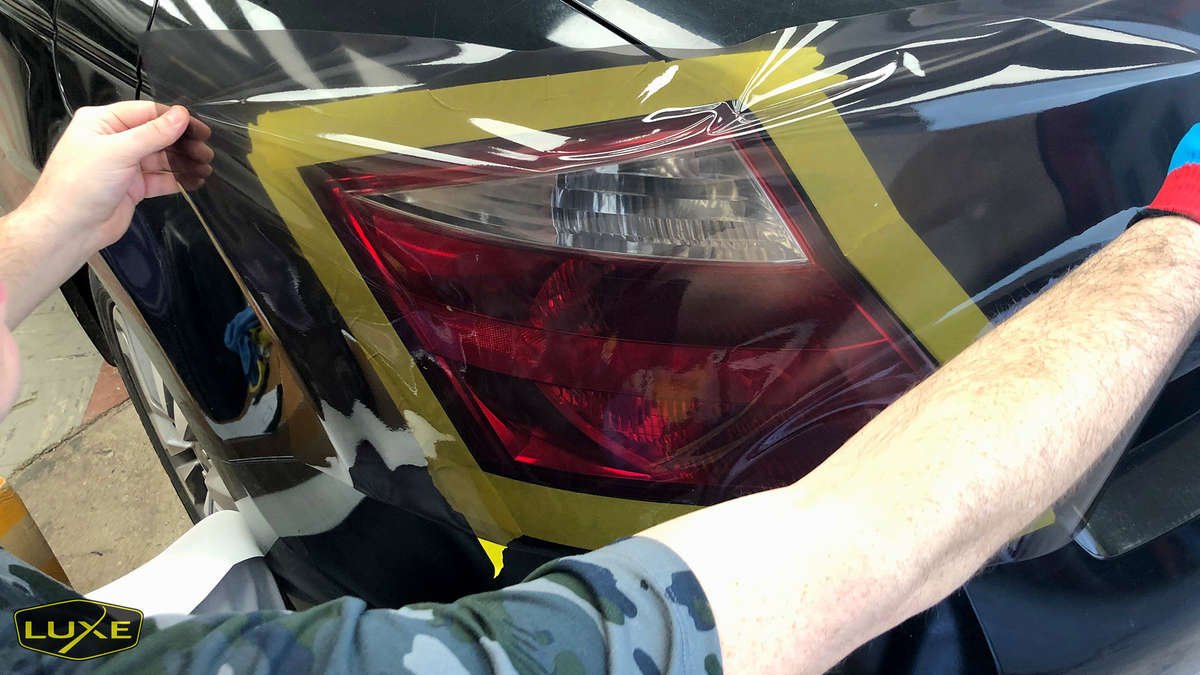
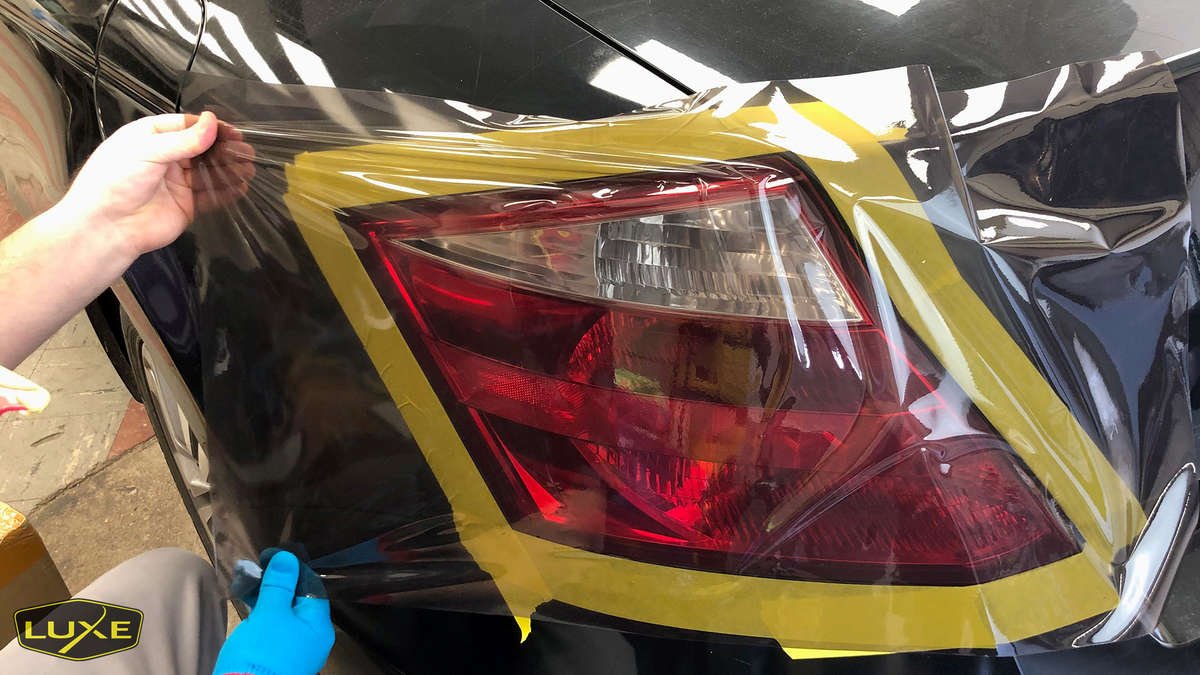
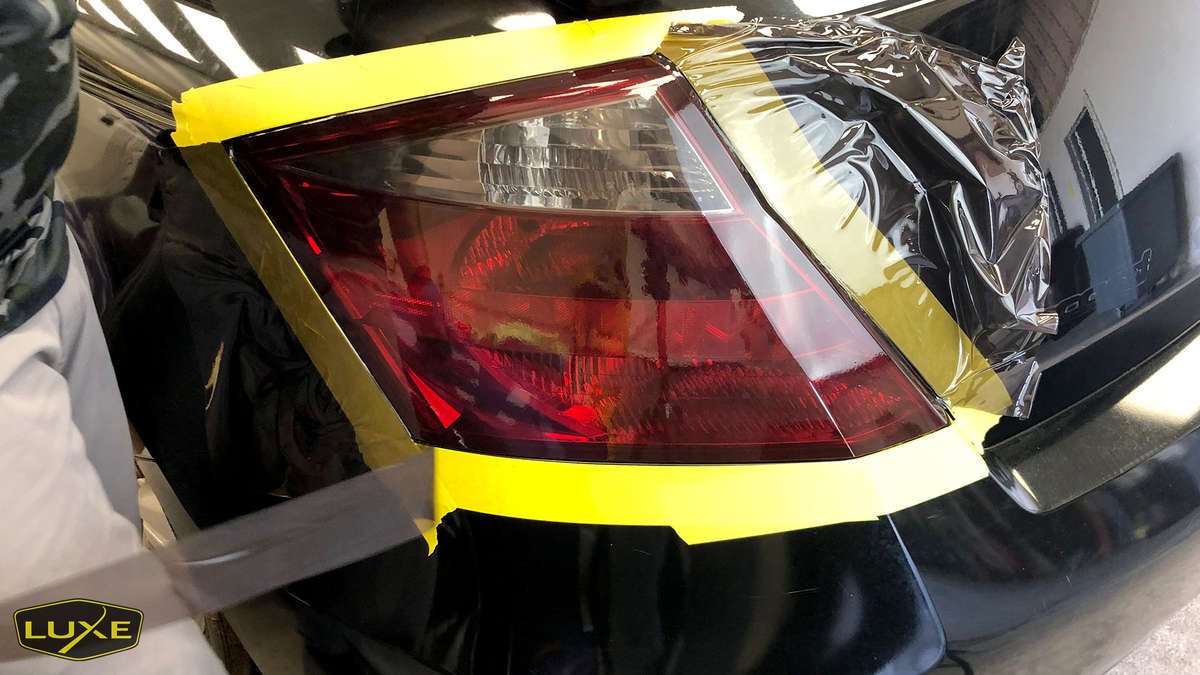
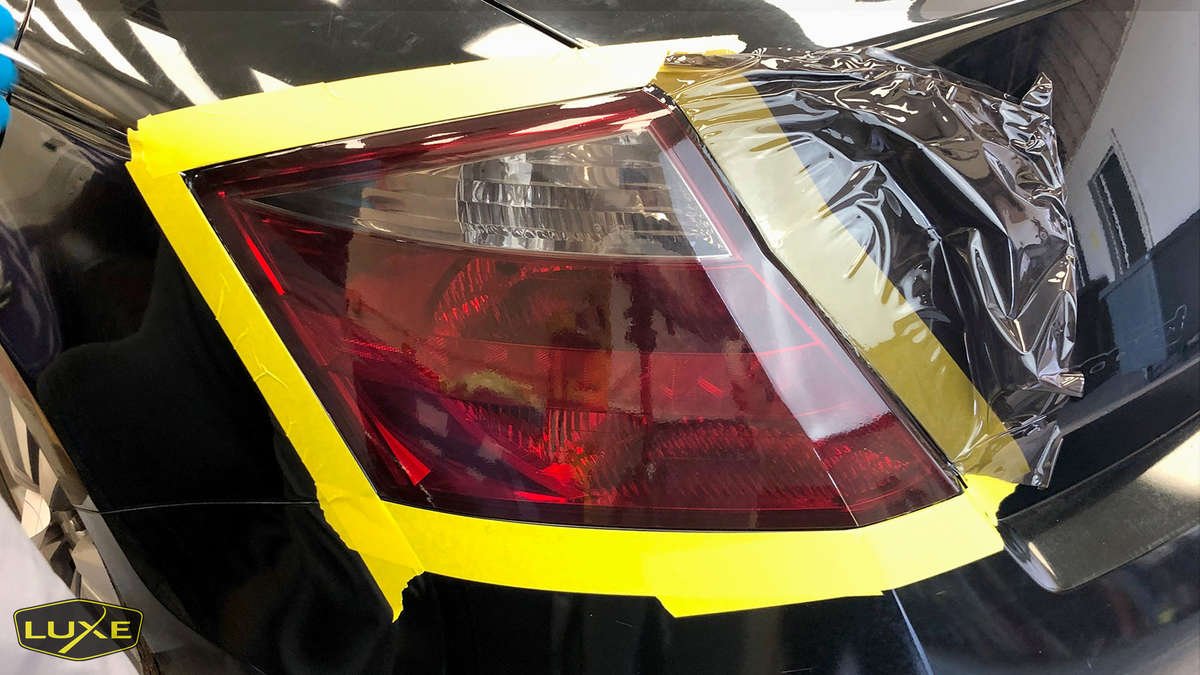
In many cases it will make the installation easier if you tape off around the light. This will prevent the adhesive on the tint from grabbing parts of the car you don't want and introducing odd tension where you don't want it.
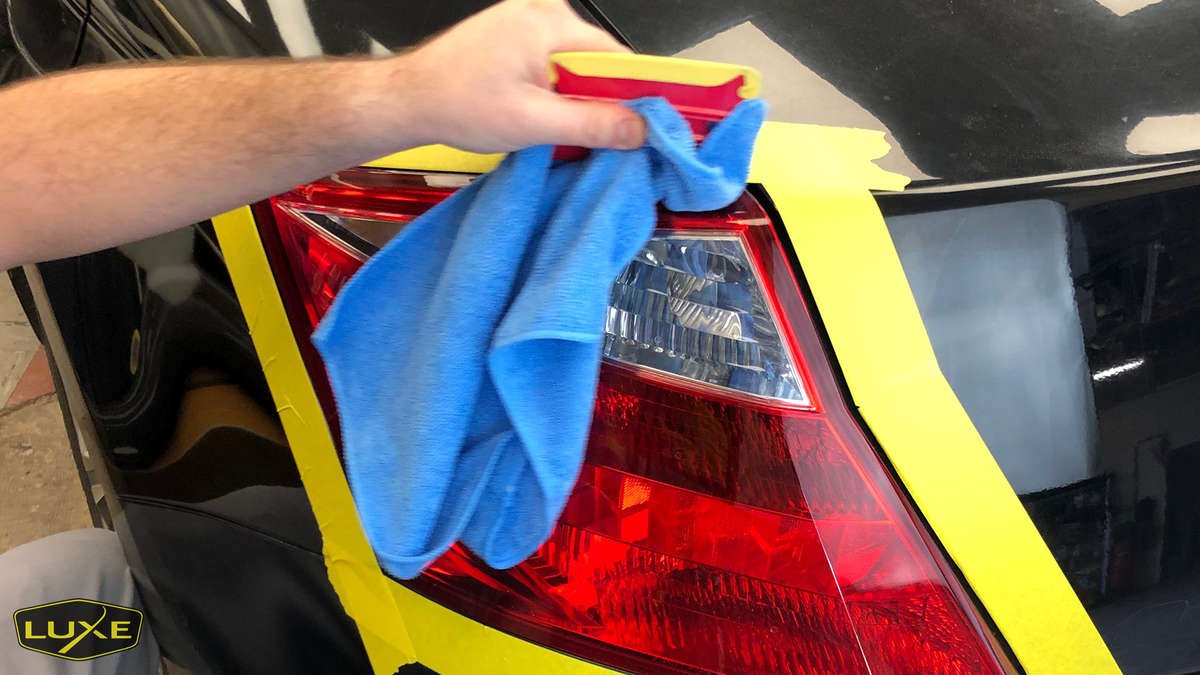
Do a final clean
This final clean should remove any remaining waxes or protectants and should be done with an isopropyl alcohol mixture. Spray your cloth with the solution and wipe the lens, and then wrap the cloth around the squeegee and saturate it with alcohol and drag it through the gaps. Adjust the towel and do this as many times as needed until the cloth removes clean. Make sure the light is completely dry and apply the film as soon as possible to prevent contamination.
Applying LightWrap
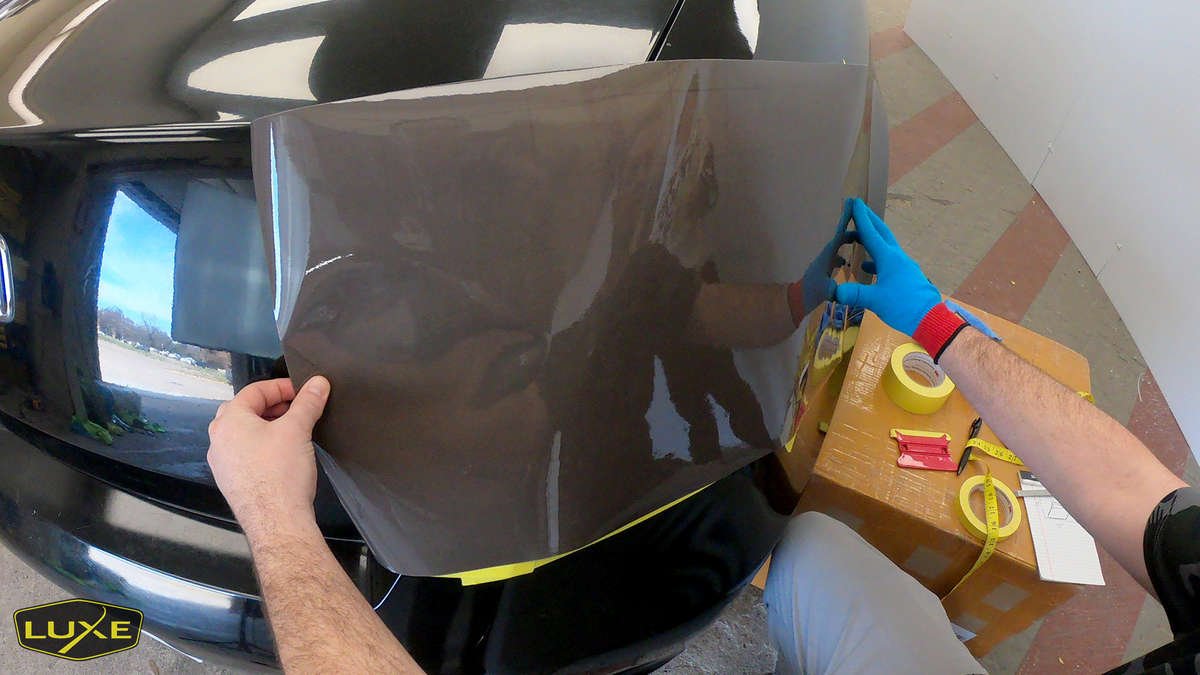
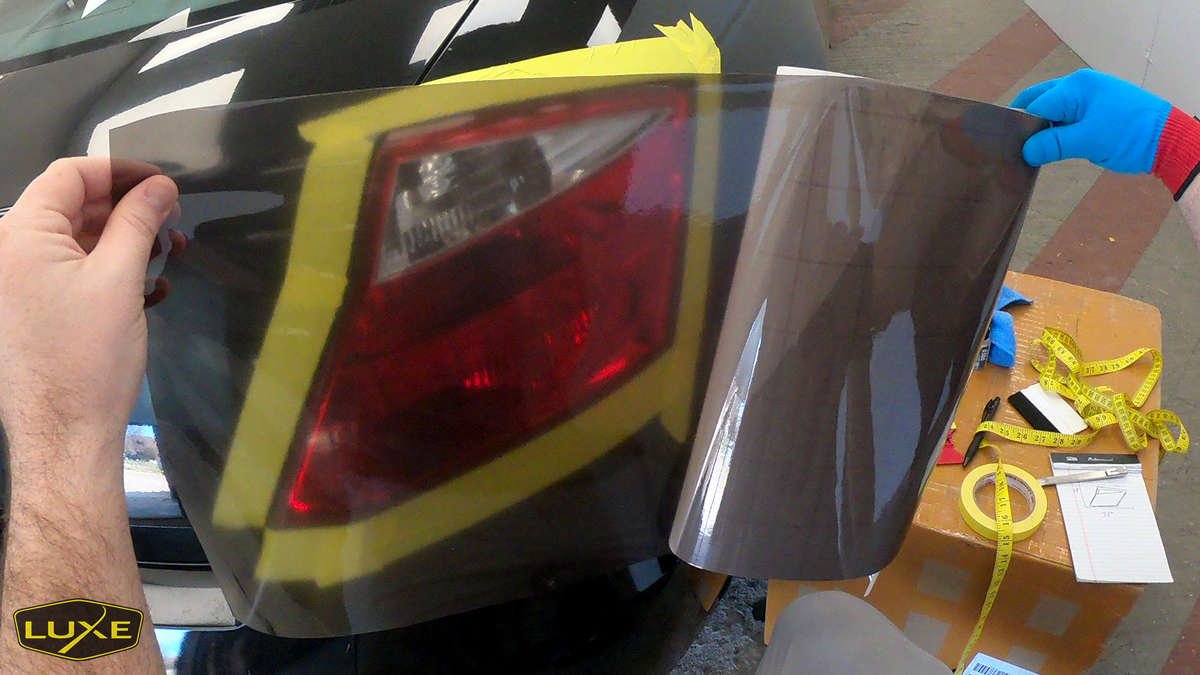
Step 1 - Align the piece of LightWrap over the light where it will be installed, and plan your wrap identifying areas of the light you will want to stretch and which you will want to shrink. Prepare your tools and make sure you have what you need near to start the application.
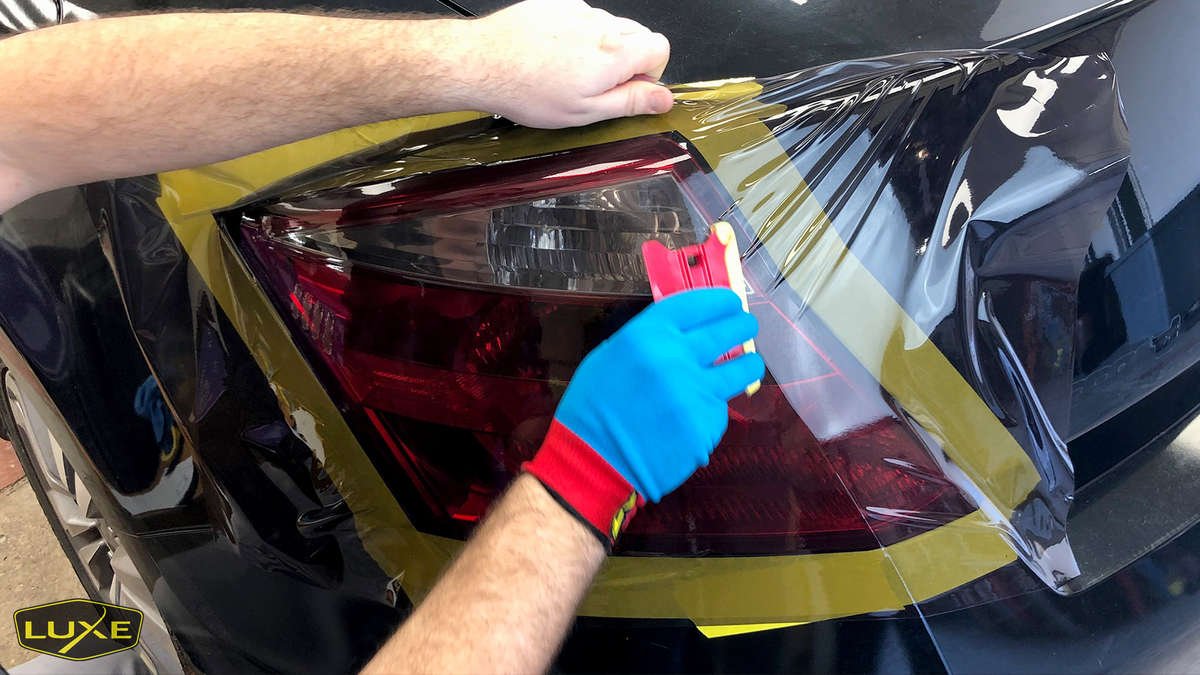
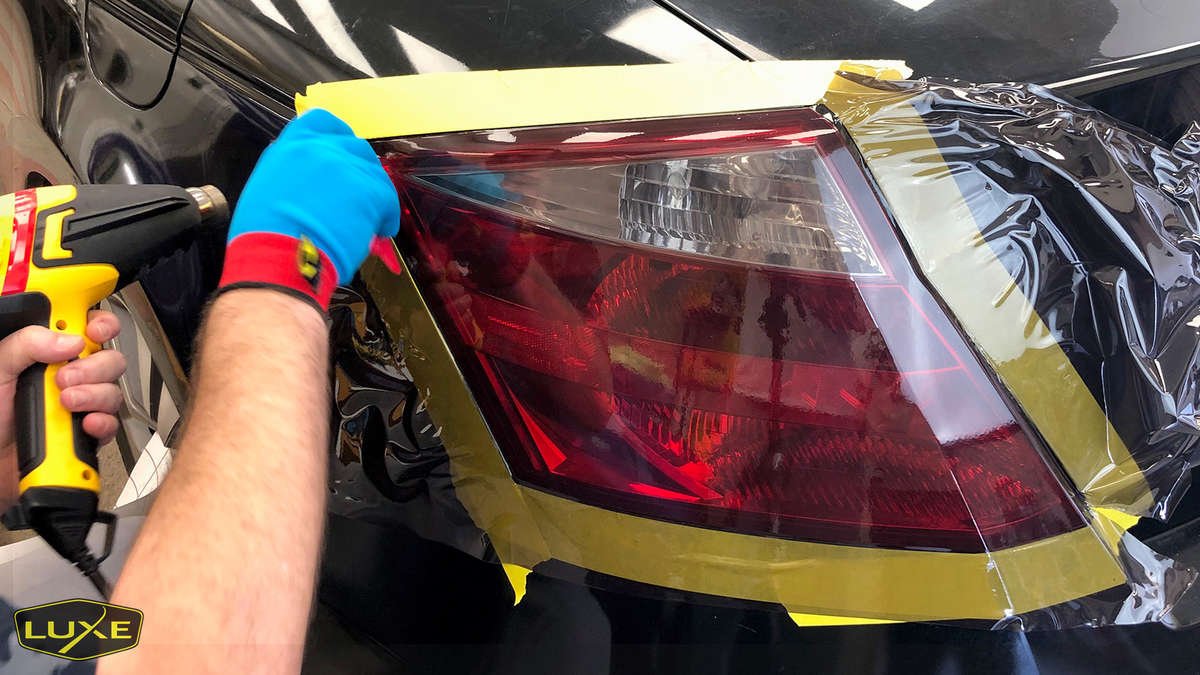
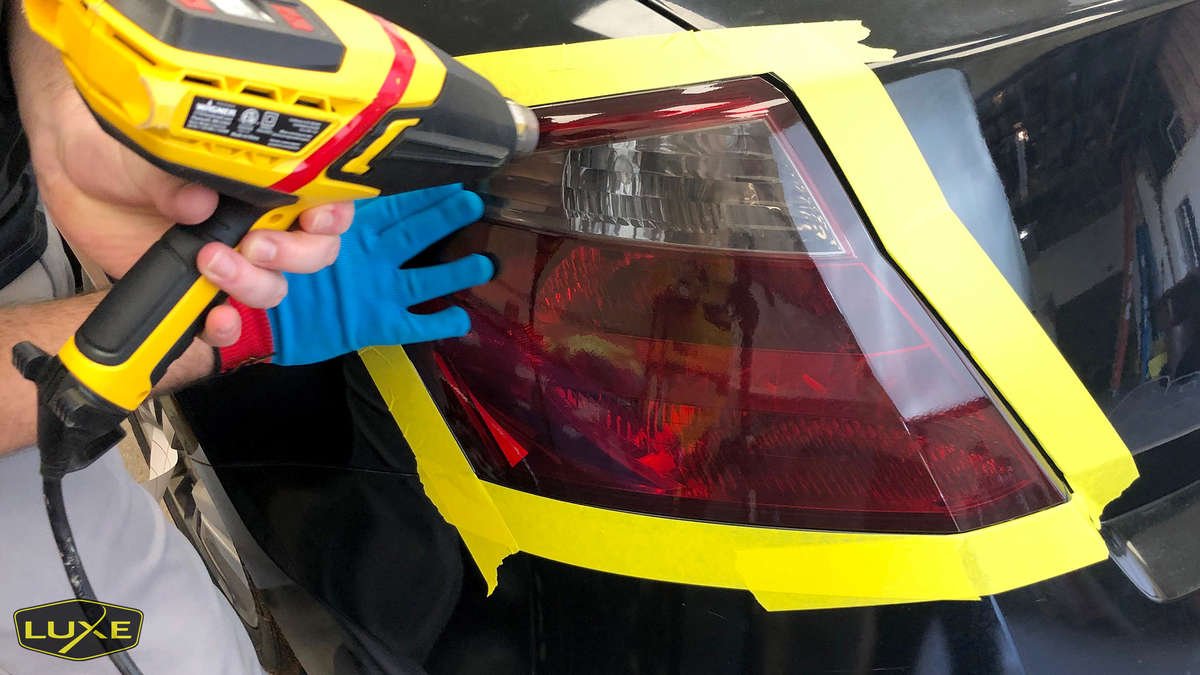
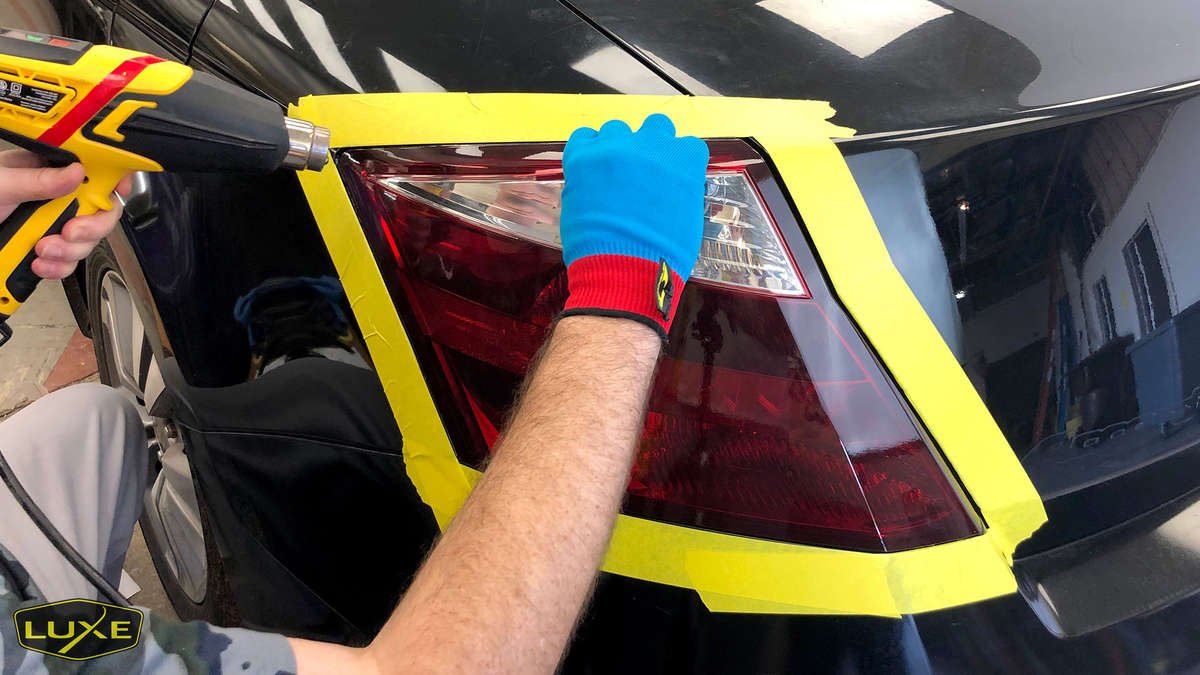
Step 2 - Remove enough backing paper to tack the film down on the light or vehicle where you want to start. Reposition as needed and then use firm pressure to anchor the film down. Remove the rest of the backing paper and using heat stretch the film over the light making sure to get as much glass as possible. It is important to get this initial stretch correct as it determines how much shrink the vinyl has to conform to any concave areas.
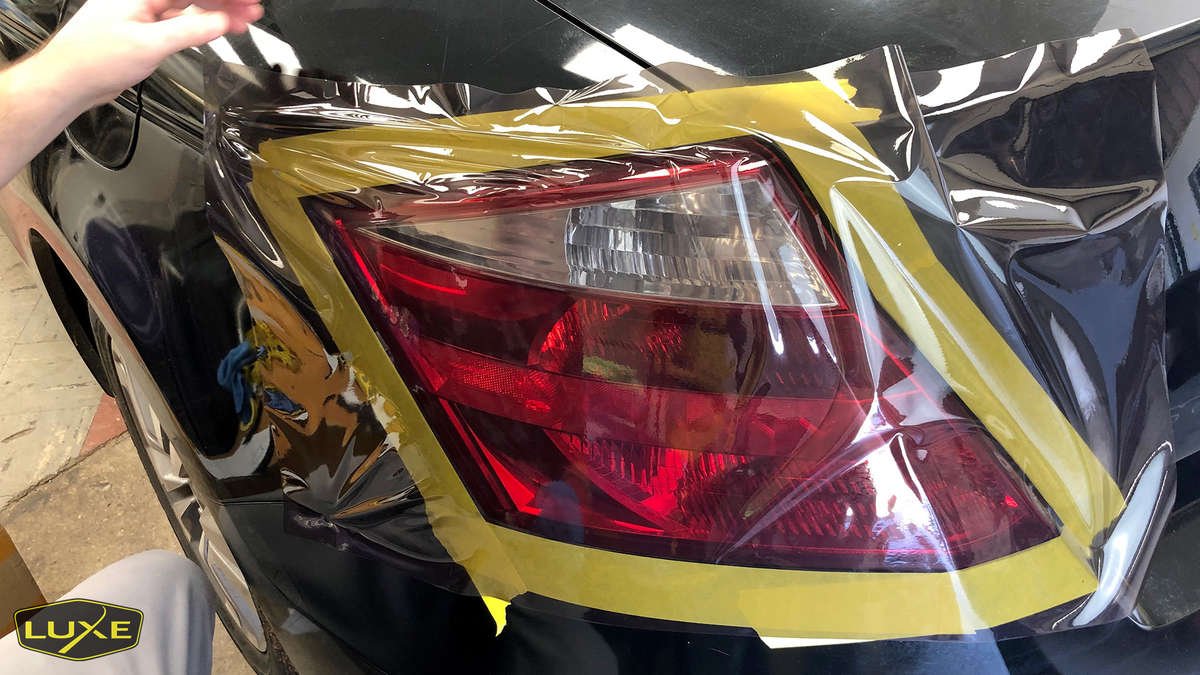
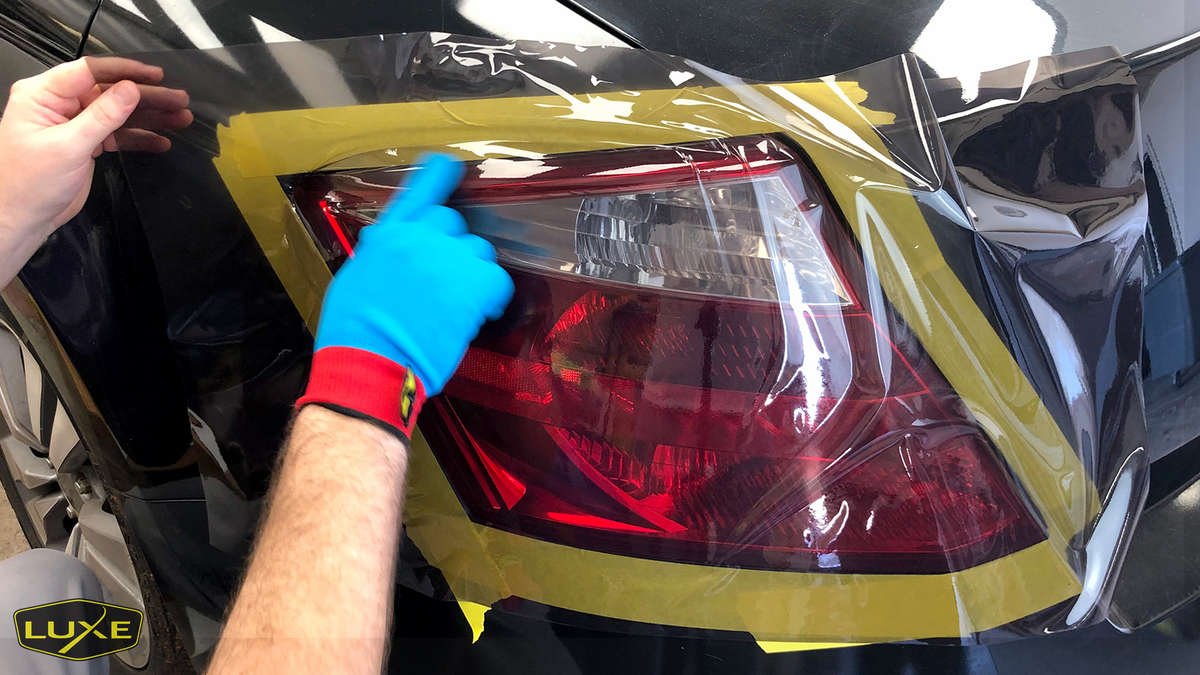
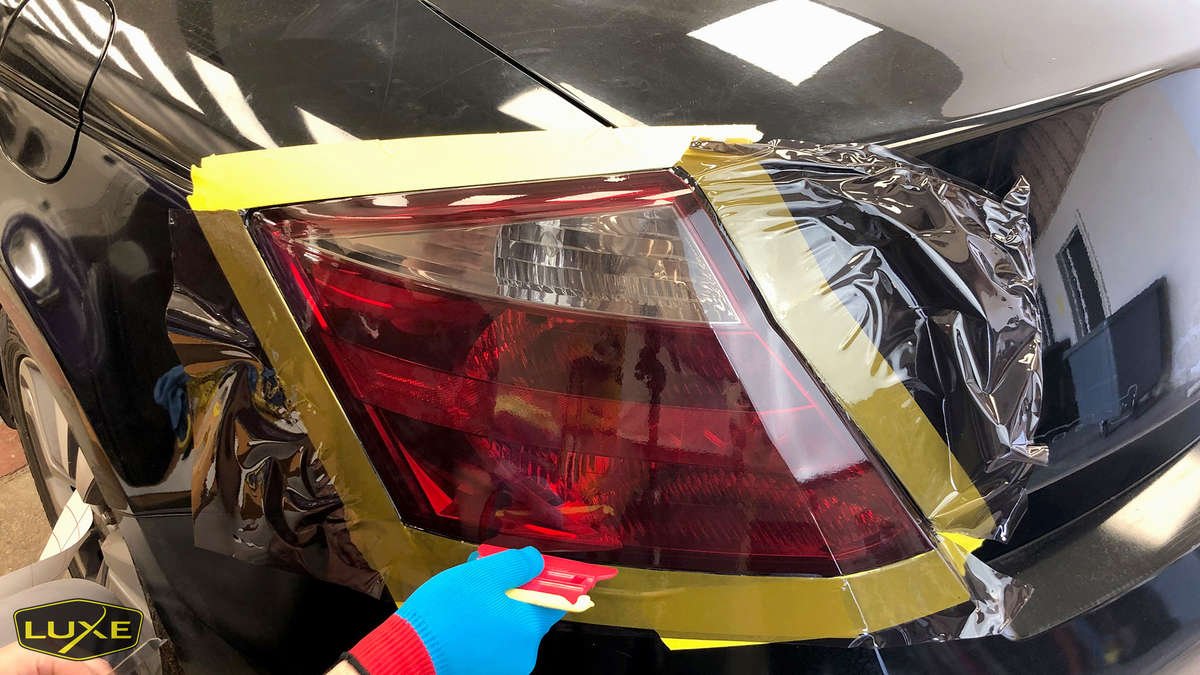
Step 3 - Lift the film off any area with wrinkles and pull perpendicular to the lines of tension to relieve them. If needed hold them away from the lens not pulling at all and use heat to shrink them away. Repeat this process shrinking away as much tension as possible creating as much glass as possible. Apply the film with faces of the light with soft and then firm pressure always working the air to the edge using the air-egress technology.
Step 4 - As you near the edges of the light you will inevitably create some folds or "fingers" in the material as it bunches up. If you attempt to squeegee these down by "chopping them" you will create wrinkles in the film that will need to be healed out. The correct method to remove these is to lift the film slightly past them and wider than the area... then heat and apply just enough stretch to smooth the area out. Squeegee this down. If you apply heat after this and the fingers re appear the vinyl is overstretched... pull it back up further and try again until you get all of the faces of the lens applied
PRO TIPS
Detailing and finishing the install
LightWrap gives you the ability to wrap deep into gaps making a light look as if it was tinted from the factory. Achieving a seamless finish really only requires patience and attention to detail and a sharp blade. Edges that are not properly tucked and sealed can be a cause of failure in the future, but following these steps will ensure this doesn't happen.
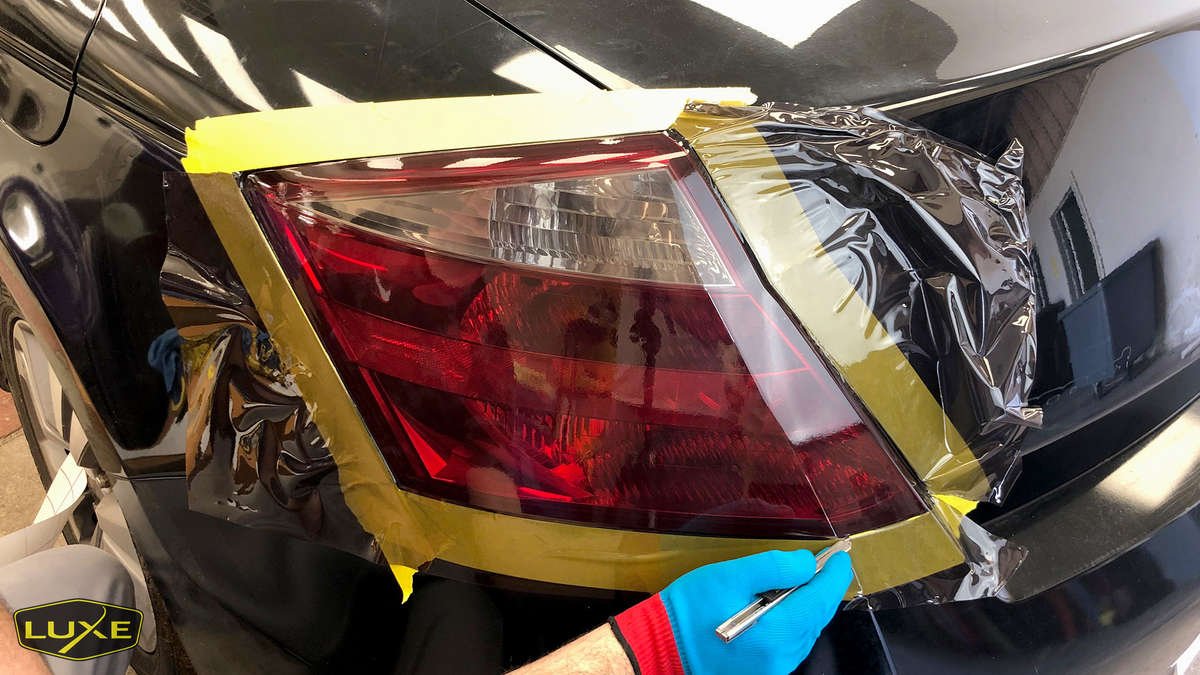
Step 1 - Gently heat the material in the edge so that it relaxes and releases whatever tension it has. Make sure no fingers are visibly reaching onto the face of the light and if they are lift and reapply there distributing the tension better. Apply the vinyl across the body gap smoothly and run your finger across it. This will give you a nice surface to cut.
Step 2 - Cut the vinyl in the gap running the blade on the side of the gap away from the light if possible. You will not cut the paint if you hold the blade correctly running it along the body panel and not on the body panel. If you have to cut on a light or panel break away a blade for the sharpest knife and just run it along the film scoring it, and then tear it sharply for a clean edge.
Step 3 - Heat the edges and use your squeegee to apply them down with no flags or folds. Anywhere the vinyl is folded is a potential fail point later as moisture will be able to get in there. To seal an edge properly make sure you heat the film and press into place 90deg. One trick is to wrap the microfiber around the squeegee to apply more even pressure.
FINAL STEP - THE MOST IMPORTANT STEP is that you post heat your install. To ensure that the memory effect of the vinyl is released and the adhesive is set it is crucial that you get it to a temperature of 190F using a torch or heat gun. Once the wrap is applied use your heat gun on the highest setting and run it over areas that may have been stretched during install. Use the IR thermometer to ensure the proper temperature is set, and if you see any little bubbles prick them and remove the air with your finger. This is the most forgotten step and the most important step in the wrapping process.




3 comments
Muchas gracias. ?Como puedo iniciar sesion?
Excellent product! We have installed mid and light smoke on many taillights- and the ladies love Starpower. shadyslimssc.com