Ir directamente al contenido
WELCOME TO LUXE AUTO CONCEPTS

Idioma

País/región

Cómo:quitar calcomanías de vinilo en el capó

How To: Removing Vinyl Hood Decals - Luxe Auto Concepts
Kanya Michelle|
¡Tienes una calcomanía en el capó, pero estás listo para un cambio! En este blog, explicamos el sencillo proceso de quitar una calcomanía de vinilo para capota.
dodge, charger, challenger, hood, hood decal, vinyl decal, vinyl hood decal, hood bulge, hood bulge decal, vinyl hood bulge decal, installing vinyl decal, removing vinyl decal, vinyl decals, custom decals, rapid remover, luxe auto concepts, car show, SEMA show, custom car, custom vehicle

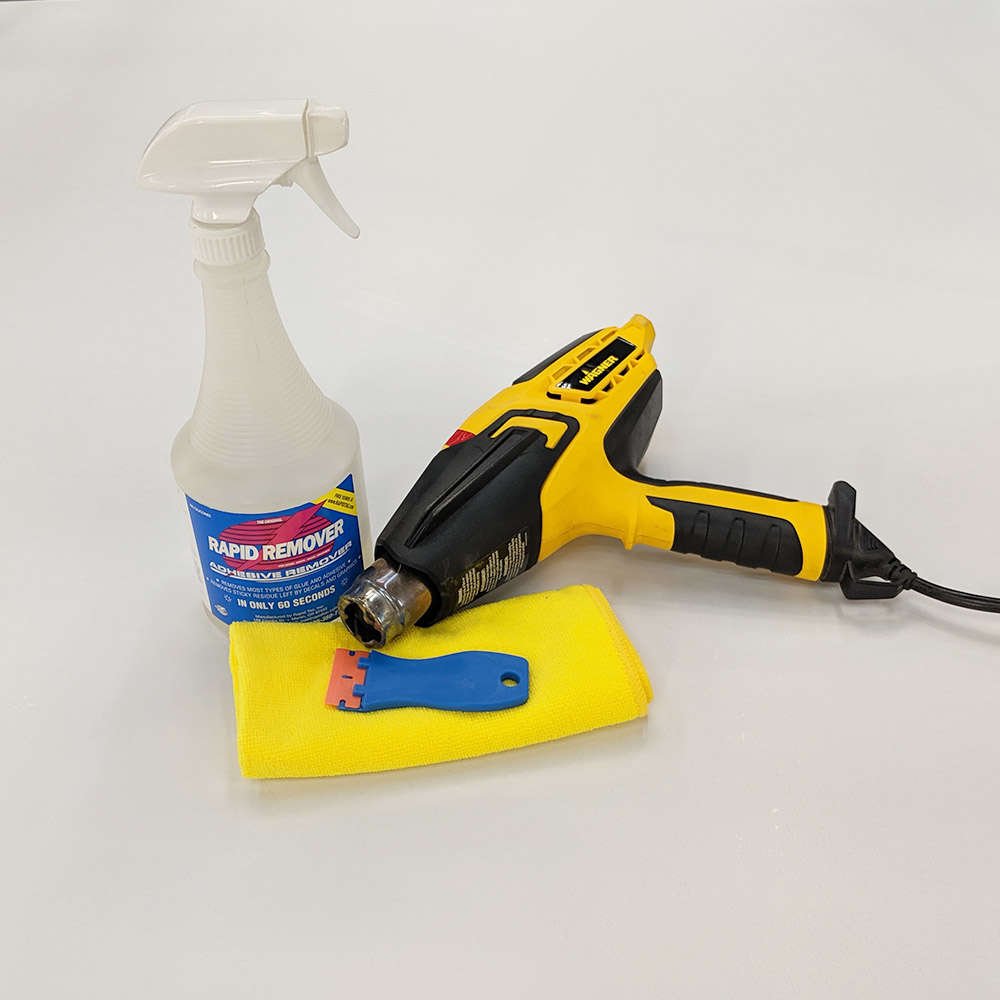
Tools Needed*

  • plastic razor scraper
    - Or other non-abrasive scraping tool like a credit card
  • heat gun
    - If you are working where it is warm this is not necessary, your objective is to heat the adhesive for removal
  • Rapid Remover
    - May not be necessary, however if you have leftover residue then we suggest a car-safe product like Rapid Remover
  • microfiber cloth

Some Things To Consider
Before You Get Started

  • When it comes to installing and removing vinyl, the climate is very important. During installation we suggest avoiding extreme temperatures (nothing below 60˚). It is also imperative that the installation is not attempted on a hot surface or in direct sunlight. HOWEVER because we are removing the decal it can be helpful to do this in a warmer space, especially in direct sunlight. The warmer the climate the less you will be fighting the decal.

  • To ensure a smooth clean finish on your car after removal you can use our Universal Debadge and Clay Bar Kit. This is especially helpful if you plan on installing another vinyl kit as leftover residue or adhesive can create issues during the installation process.
dodge, charger, challenger, hood, hood decal, vinyl decal, vinyl hood decal, hood bulge, hood bulge decal, vinyl hood bulge decal, installing vinyl decal, removing vinyl decal, vinyl decals, custom decals, rapid remover, luxe auto concepts, car show, SEMA show, custom car, custom vehicle
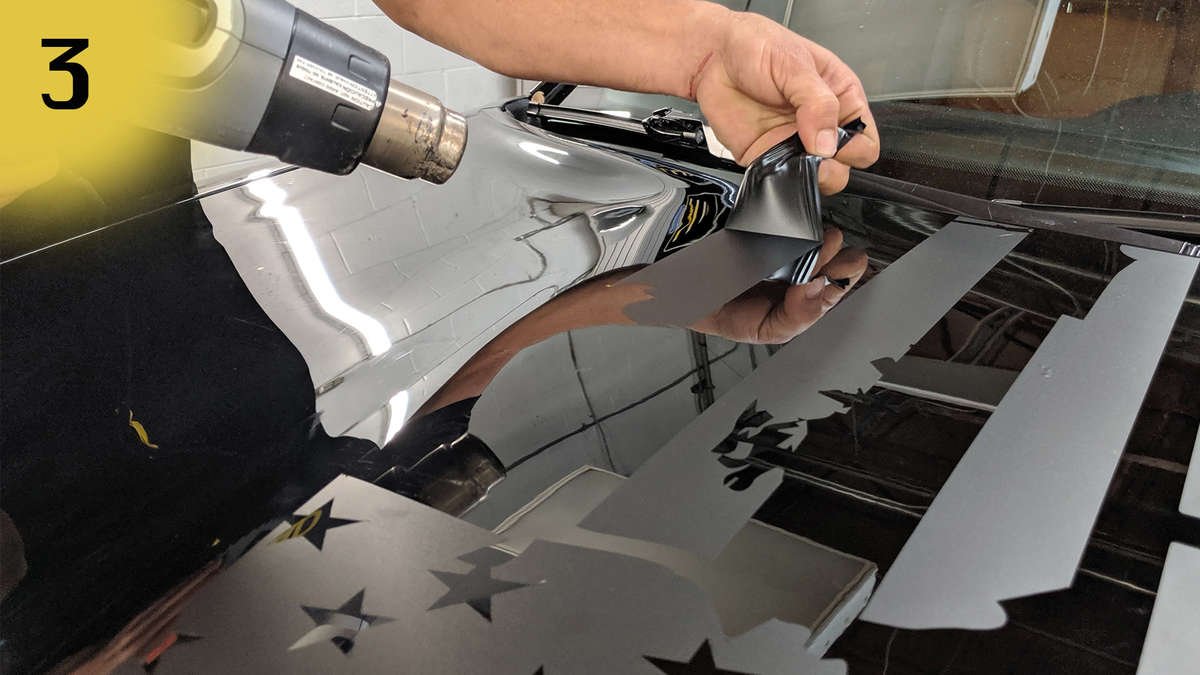
Step 4: Remove Latent Adhesive
  • Finally, spray the hood with Rapid Remover and wipe down with the microfiber cloth.
  • If you want to ensure you have a clean car, or if you are planning on installing another decal on the same area, then use our Clay Bar Kit to get a spotless (and adhesive-free) finish.
dodge, charger, challenger, hood, hood decal, vinyl decal, vinyl hood decal, hood bulge, hood bulge decal, vinyl hood bulge decal, installing vinyl decal, removing vinyl decal, vinyl decals, custom decals, rapid remover, luxe auto concepts, car show, SEMA show, custom car, custom vehicle
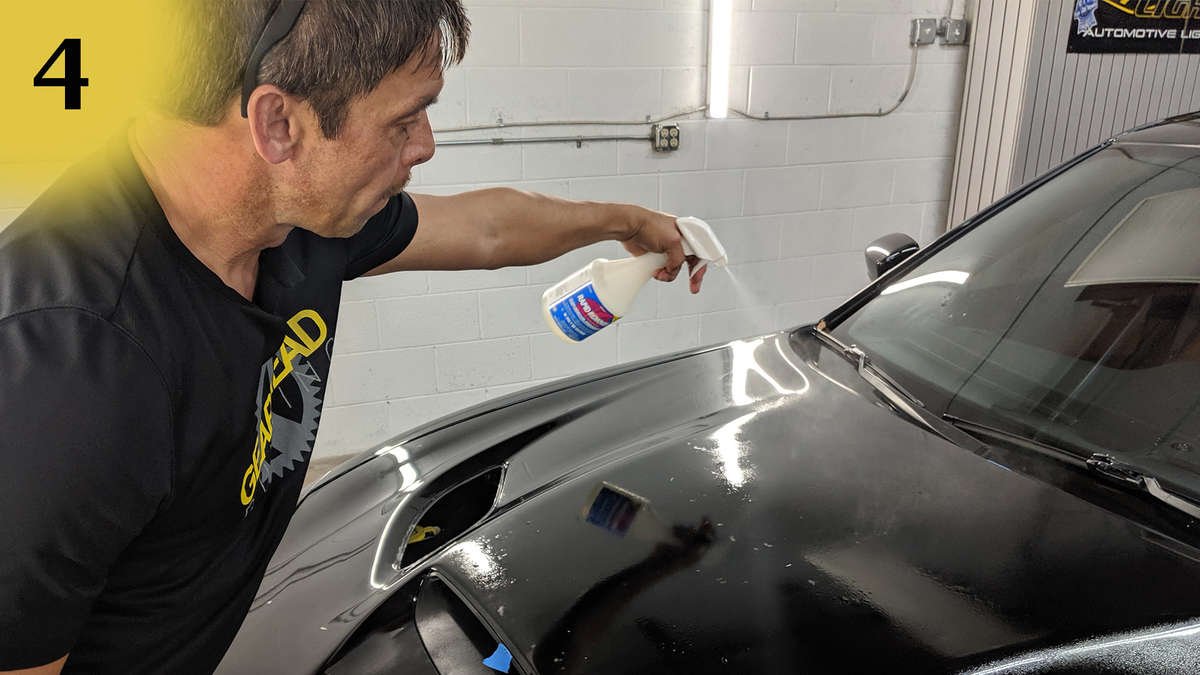
Step 1: Grab the Heat Gun
  • Pick a section of the decal  and begin to heat that section with the heat gun*. You are trying to warm up the adhesive on the back of the decal so that it will be easier to peel off.
*Your objective with the heat gun is to warm up the vinyl adhesive to make it easier to remove. If the vinyl is breaking and tearing after you heat it then you are overheating your workspace. 
dodge, charger, challenger, hood, hood decal, vinyl decal, vinyl hood decal, hood bulge, hood bulge decal, vinyl hood bulge decal, installing vinyl decal, removing vinyl decal, vinyl decals, custom decals, rapid remover, luxe auto concepts, car show, SEMA show, custom car, custom vehicle
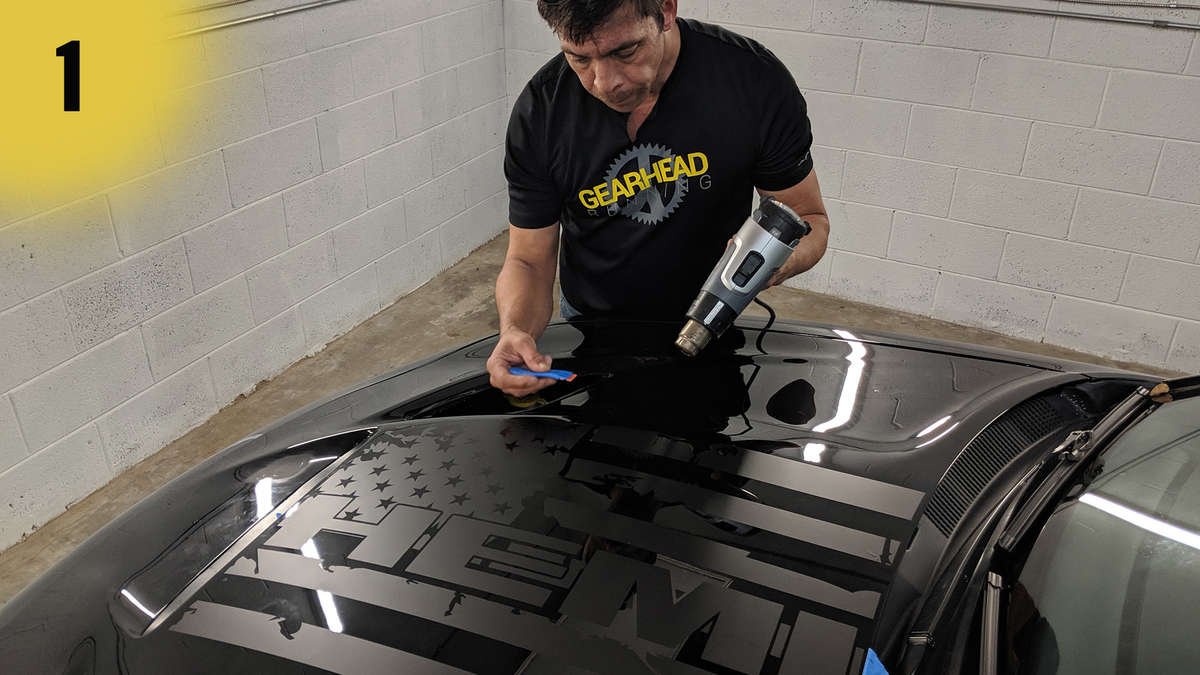
Step 2: Scrape the Decal
  • While you are heating a section, use your scraping tool and your fingers to begin to pick and peel at the edge of the decal. 
dodge, charger, challenger, hood, hood decal, vinyl decal, vinyl hood decal, hood bulge, hood bulge decal, vinyl hood bulge decal, installing vinyl decal, removing vinyl decal, vinyl decals, custom decals, rapid remover, luxe auto concepts, car show, SEMA show, custom car, custom vehicle
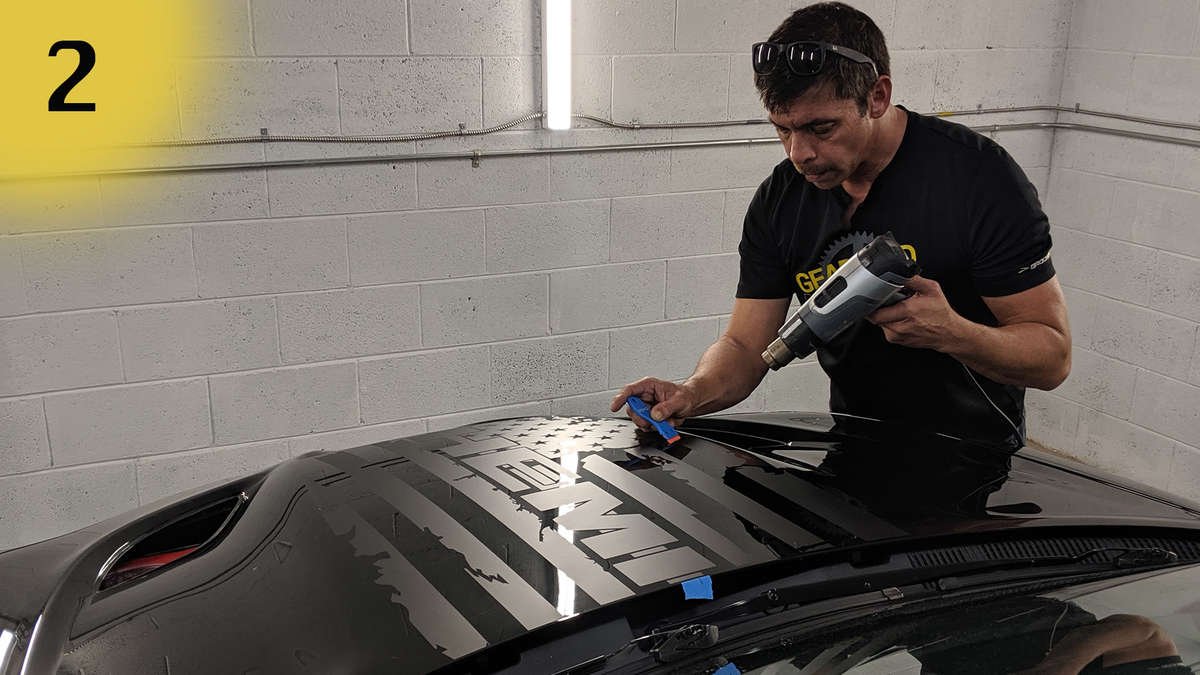
Step 3: Remove the Decal
  • Now that your decal is heated and you have lifted some edges you can begin to pull up and peel the decal up from the car.
  • Using heat as you go, pull the decal up slowly at a 45° angle.
dodge, charger, challenger, hood, hood decal, vinyl decal, vinyl hood decal, hood bulge, hood bulge decal, vinyl hood bulge decal, installing vinyl decal, removing vinyl decal, vinyl decals, custom decals, rapid remover, luxe auto concepts, car show, SEMA show, custom car, custom vehicle
Step 4: Remove Latent Adhesive
  • Finally, spray the hood with Rapid Remover and wipe down with the microfiber cloth.
  • If you want to ensure you have a clean car, or if you are planning on installing another decal on the same area, then use our Clay Bar Kit to get a spotless (and adhesive-free) finish.
dodge, charger, challenger, hood, hood decal, vinyl decal, vinyl hood decal, hood bulge, hood bulge decal, vinyl hood bulge decal, installing vinyl decal, removing vinyl decal, vinyl decals, custom decals, rapid remover, luxe auto concepts, car show, SEMA show, custom car, custom vehicle
Step 1: Grab the Heat Gun
  • Pick a section of the decal  and begin to heat that section with the heat gun*. You are trying to warm up the adhesive on the back of the decal so that it will be easier to peel off.
*Your objective with the heat gun is to warm up the vinyl adhesive to make it easier to remove. If the vinyl is breaking and tearing after you heat it then you are overheating your workspace. 

Ready For A New Decal?

  • Before installing a decal in the same spot you will need to ensure that you clean the space WELL with an alcohol solution. You do not want to have ANY Rapid Remove residue on your car if you are going to install a new decal.

  • The best way to ensure that you have removed all residue and other contaminates is by using a clay bar to clean the installation surface. Add a Clay Bar Kit to your next vinyl decal order and you'll be ready for a smooth installation!

Like what you saw?

Check out our hood bulge decals!

Or contact our custom department
for a custom hood bulge decal!
CONTACT LUXE CUSTOM
Regresar al blog

Deja un comentario

Ten en cuenta que los comentarios deben aprobarse antes de que se publiquen.

You might like